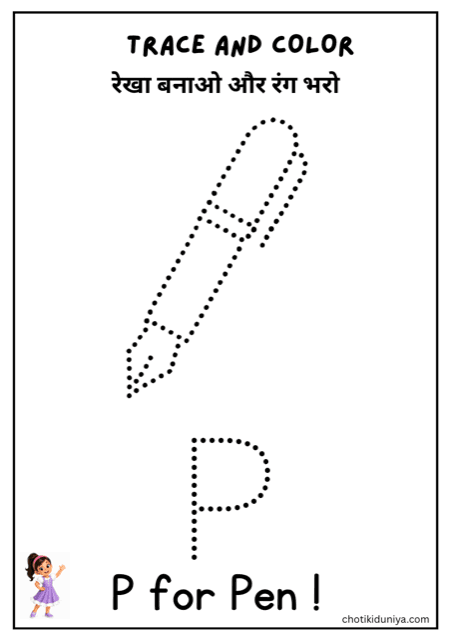
Trace and color the letter P: free printable worksheet
रेखा बनाओ और रंग भरो
- Age
- 3–6
- Pages
- 1
- Paper
- A4
- Language
- हिं + En
No sign-up, no email. Print on plain A4 paper.
About this sheet
What is on the page, and how to get the most out of it.
A dotted pen to trace and colour, a dotted uppercase P beneath, and the line P for Pen.
A P is a vertical spine with a single bump at the top, two strokes. It is the simplest member of a family that also contains B and R, and it is the one to learn first.
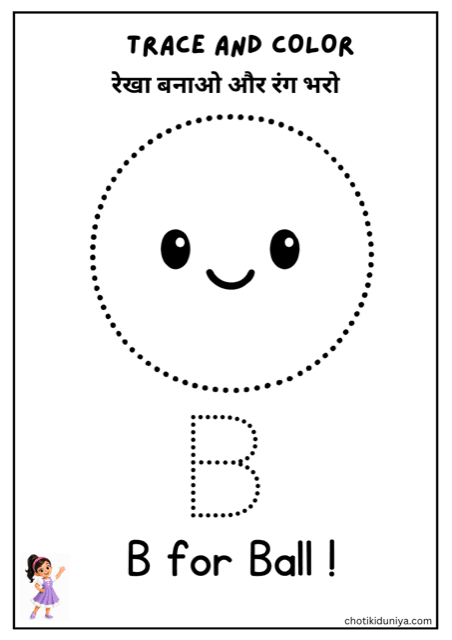
A B is a P with a second bump underneath. An R is a P with a diagonal leg added. Teaching them in that order, P then B then R, means each new letter is one addition to a shape already in the hand, rather than three separate things to memorise.
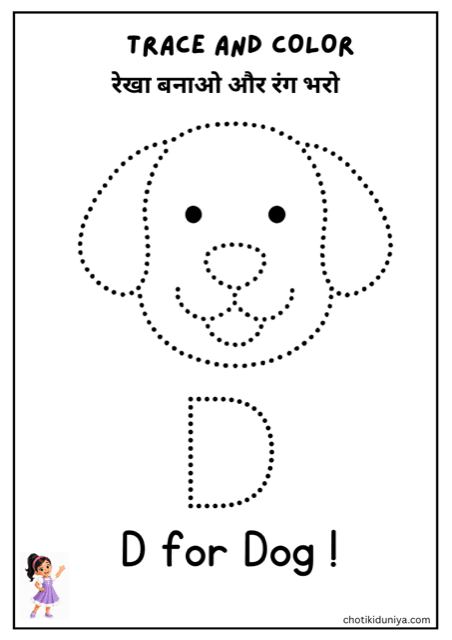
The mistake to expect is a bump that comes too far down the spine, which turns the P into something closer to a D. Watch where the curve rejoins the line: it should meet at the middle, not the bottom.
The pen is a long narrow shape with straight parallel sides, which is different tracing work from the rounded pictures on either side of it.
What your child practises
A spine with one bump at the top, and the first letter of the P, B and R family.
- Attaching a single bump at the top of a spine
- Rejoining a curve at mid height
- Tracing long parallel straight sides
- Linking the letter P to the sound in pen
Common questions
My child brings the P bump down too far.
That turns it into something closer to a D. The curve should rejoin the spine at the middle rather than the bottom, and pointing at the join before they start helps.
What order should P, B and R be taught in?
P first, then B, then R. A B is a P with a second bump and an R is a P with a leg, so each one is a single addition to a shape the hand already knows.